Spring AI简单应用
SpringBoot提供了AI相关的starter,只需要简单的配置便可以高效地与AI模型进行对接。本篇文章将简单介绍如何通过Spring AI对接DeepSeek。
环境准备
- jdk-21
- SpringBoot 3.4.3(Spring AI Starter要求的SpringBoot的最低版本是3.2)
- Maven 3.9.9
获取AI模型配置
Siliconflow 给我们提供了免费的
DeepSeek-R1模型。访问模型广场,筛选出免费的模型。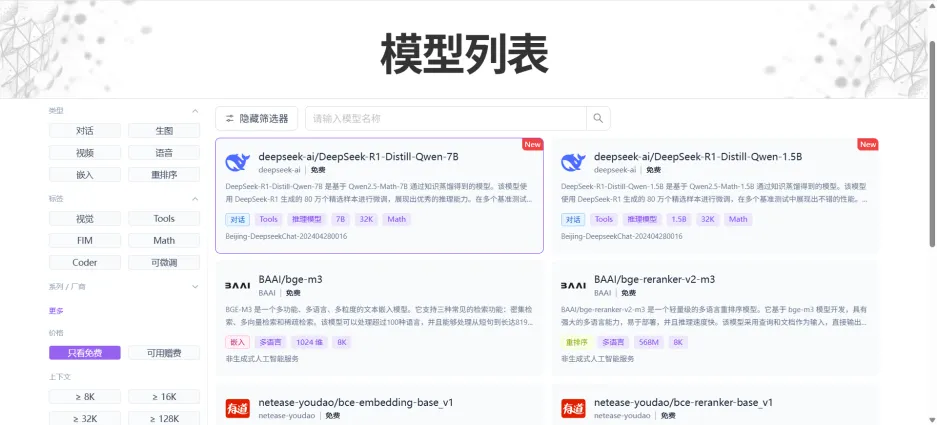
本次Demo选择
deepseek-ai/DeepSeek-R1-Distill-Qwen-7B。新建API密钥:点击侧边栏的API密钥,在该界面中新建一个API密钥,留着待会在项目配置中填入。
创建项目
通过idea新建一个Maven项目。
修改Maven配置文件
pom.xml填入以下内容1
2
3
4
5
6
7
8
9
10
11
12
13
14
15
16
17
18
19
20
21
22
23
24
25
26
27
28
29
30
31
32
33
34
35
36
37
38
39
40
41
42
43
44
45
46
47
48
49
50
51
52
53
54
55
56
57
58
59
60
61
62
63
64
<project xmlns="http://maven.apache.org/POM/4.0.0"
xmlns:xsi="http://www.w3.org/2001/XMLSchema-instance"
xsi:schemaLocation="http://maven.apache.org/POM/4.0.0 http://maven.apache.org/xsd/maven-4.0.0.xsd">
<modelVersion>4.0.0</modelVersion>
<groupId>com.noodles.ai</groupId>
<artifactId>ai-demo</artifactId>
<version>1.0-SNAPSHOT</version>
<parent>
<groupId>org.springframework.boot</groupId>
<artifactId>spring-boot-starter-parent</artifactId>
<version>3.4.3</version>
<relativePath/>
</parent>
<properties>
<maven.compiler.source>21</maven.compiler.source>
<maven.compiler.target>21</maven.compiler.target>
<project.build.sourceEncoding>UTF-8</project.build.sourceEncoding>
<spring-ai.version>1.0.0-M5</spring-ai.version>
</properties>
<dependencyManagement>
<dependencies>
<dependency>
<groupId>org.springframework.ai</groupId>
<artifactId>spring-ai-bom</artifactId>
<version>${spring-ai.version}</version>
<type>pom</type>
<scope>import</scope>
</dependency>
</dependencies>
</dependencyManagement>
<dependencies>
<dependency>
<groupId>org.projectlombok</groupId>
<artifactId>lombok</artifactId>
<scope>provided</scope>
</dependency>
<dependency>
<groupId>org.springframework.boot</groupId>
<artifactId>spring-boot-starter-web</artifactId>
</dependency>
<dependency>
<groupId>org.springframework.ai</groupId>
<artifactId>spring-ai-openai-spring-boot-starter</artifactId>
</dependency>
</dependencies>
<build>
<finalName>ai-demo</finalName>
<plugins>
<plugin>
<groupId>org.springframework.boot</groupId>
<artifactId>spring-boot-maven-plugin</artifactId>
</plugin>
</plugins>
</build>
</project>填写
application.ymlAI相关配置。1
2
3
4
5
6
7
8spring:
ai:
openai:
api-key: sk-xxx # API 密钥
base-url: https://api.siliconflow.cn # API 地址
chat:
options:
model: deepseek-ai/DeepSeek-R1-Distill-Qwen-7B # 模型广场中选择的模型编写Controller代码进行测试
1
2
3
4
5
6
7
8
9
10
11
12
13
14
15
16
17
18
19
public class DeepSeekController {
private final ChatClient chatClient;
public DeepSeekController(ChatClient.Builder builder) {
this.chatClient = builder.build();
}
public String chat( String message) {
return chatClient
.prompt()
.user(message)
.call().content();
}
}
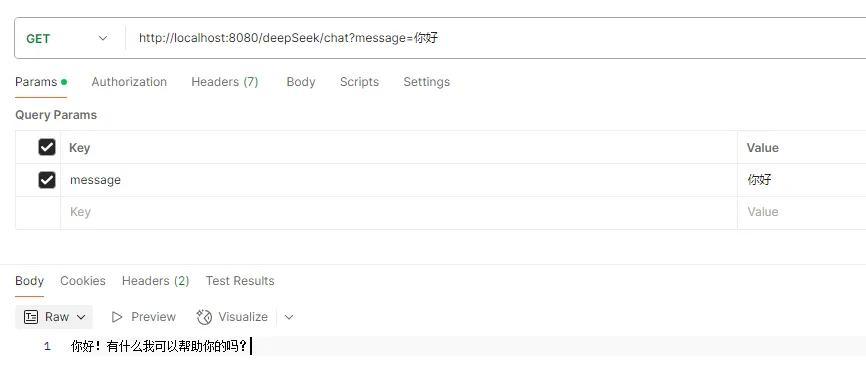
测试对接效果
在 Postman 或者浏览器中输入测试连接:http://localhost:8080/deepSeek/chat?message=你好
本博客所有文章除特别声明外,均采用 CC BY-NC-SA 4.0 许可协议。转载请注明来源 Noodles!